Record Your Screen and Camera Together, Perfectly Framed
Combine your screen capture and webcam into a single video with split-screen or picture-in-picture layouts. Adjustable ratios, 16:9 and 9:16 output, auto-save, and one-click MP4 download.
Start Recording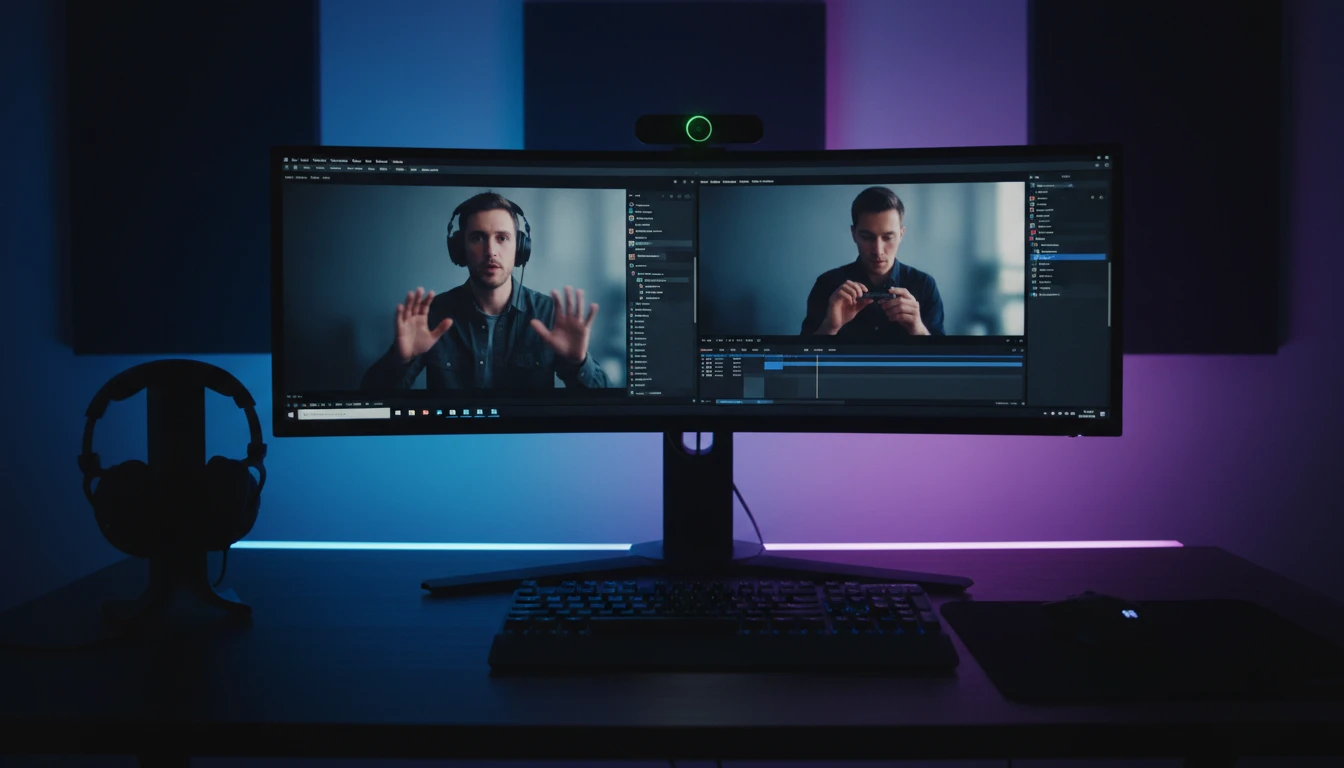
Split Screen Recorder
Record screen and camera together in split-screen, side-by-side, or picture-in-picture
Recording Controls
Settings
Recording Mode
Output Aspect Ratio
Split Layout
Camera Aspect Ratio
Split Ratio — 50% / 50%
Select a mode, click Start Recording, grant permissions when prompted, then stop to download.
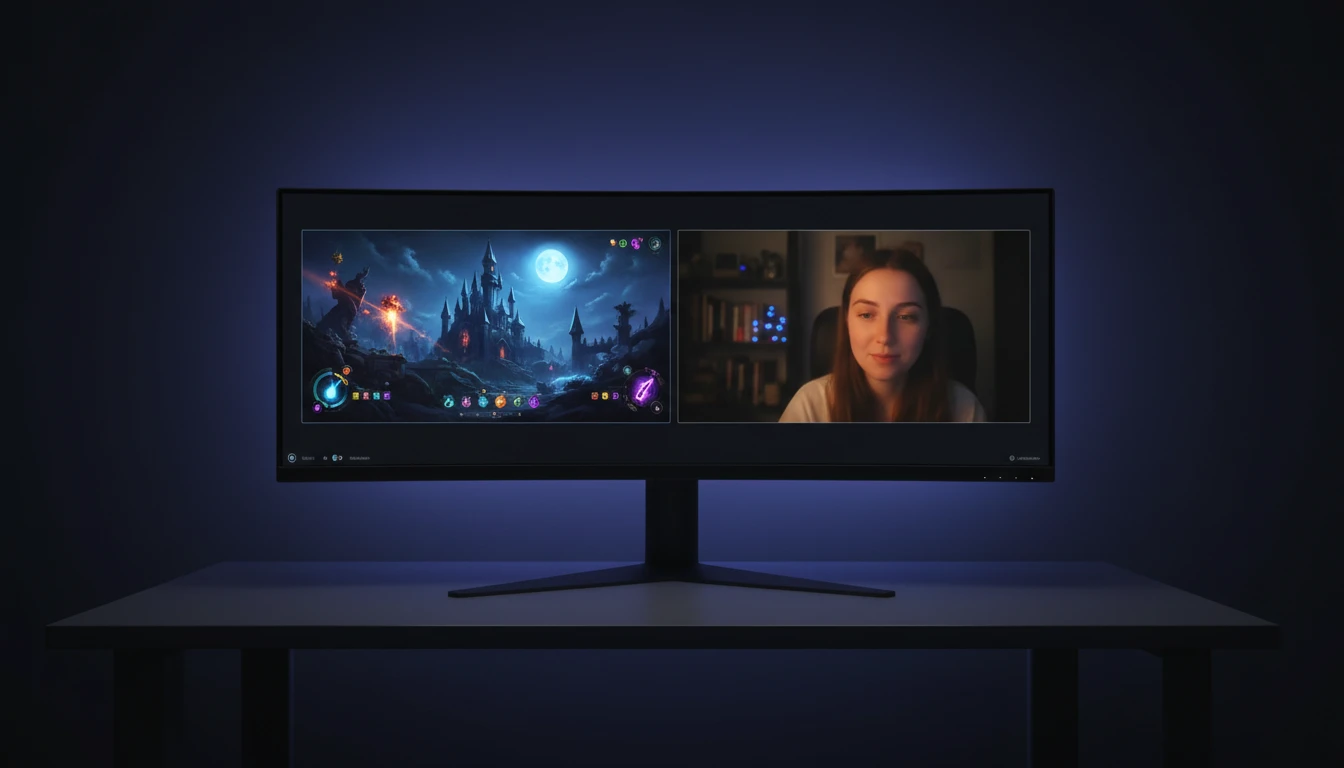
Split-Screen and Picture-in-Picture
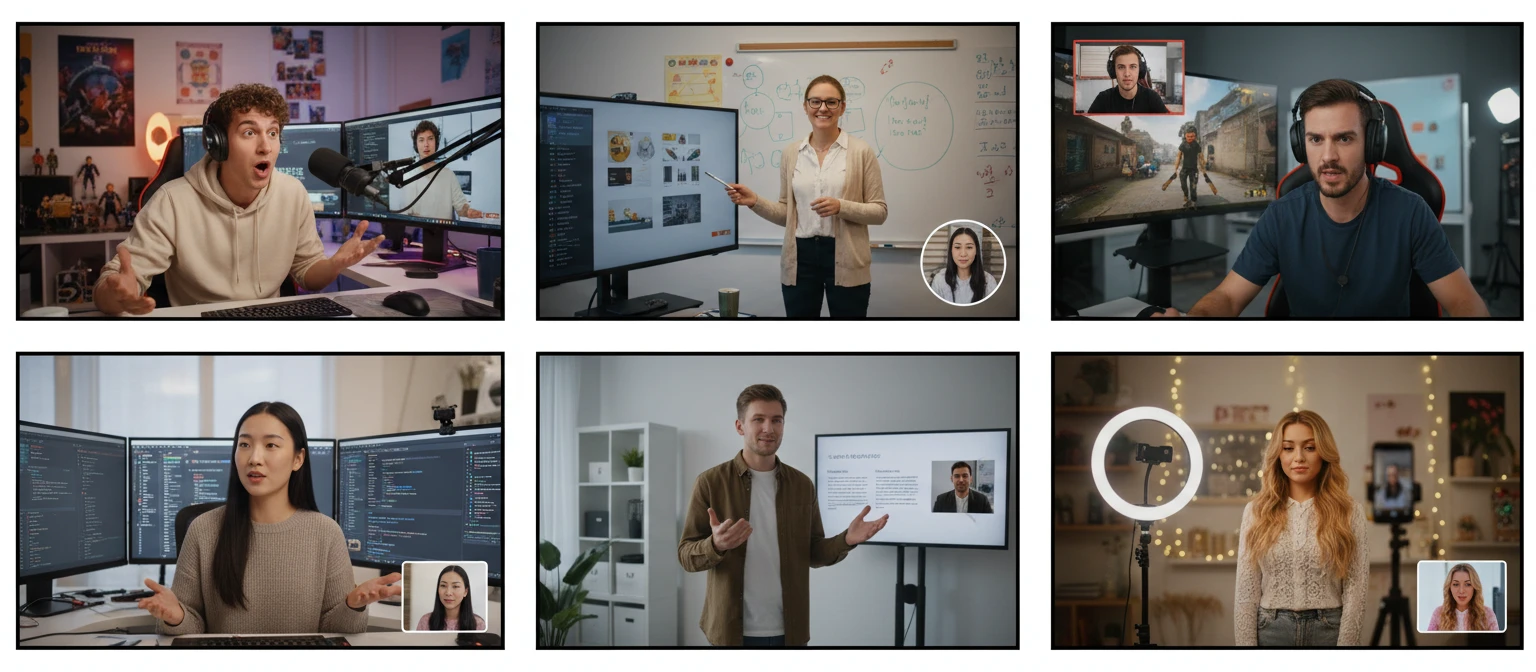
In Split Screen mode, your screen capture and webcam are composited side-by-side or top-and-bottom using an HTML5 Canvas, with an adjustable ratio slider so you control how much of the frame each source gets.
Try It Now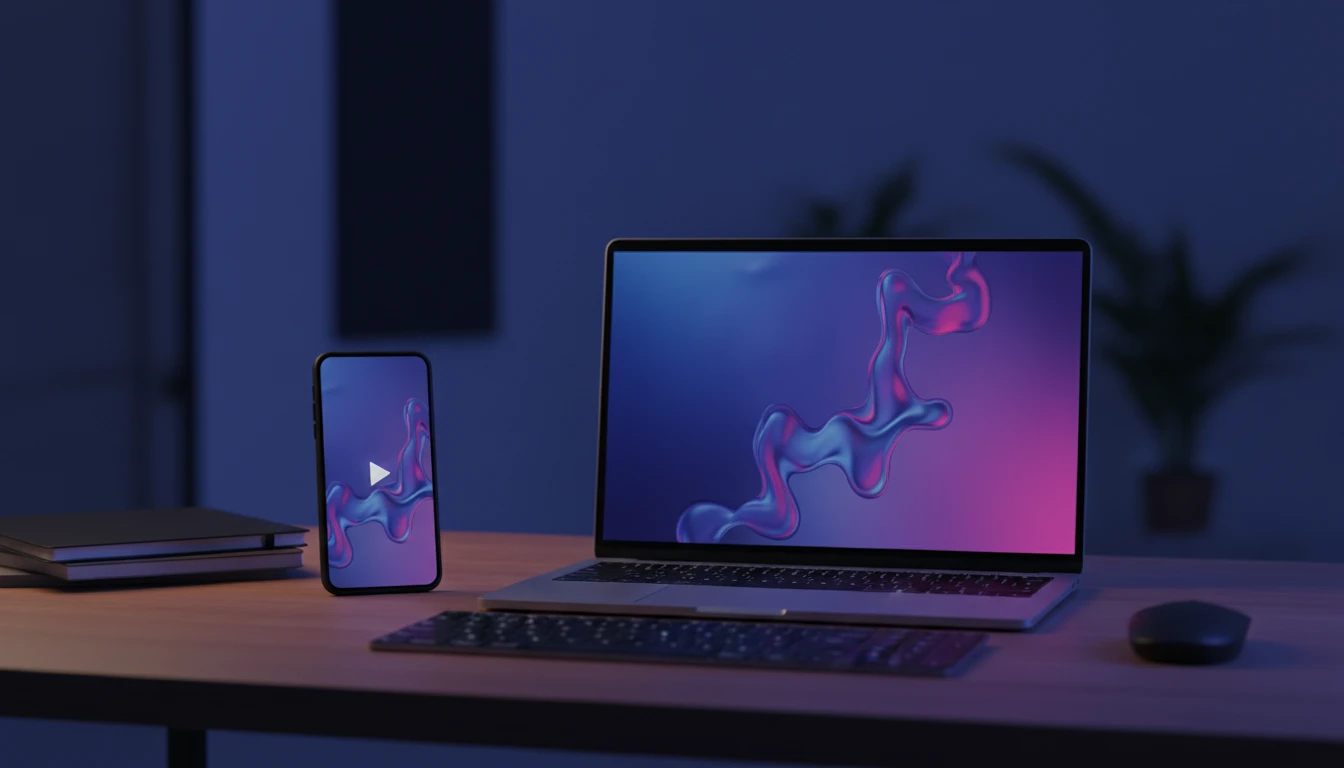
16:9 and 9:16 Aspect Ratios
Switch between widescreen 16:9 for YouTube and presentations, or vertical 9:16 for TikTok, Instagram Reels, and YouTube Shorts — the canvas dimensions adjust automatically before recording starts.
Try It Now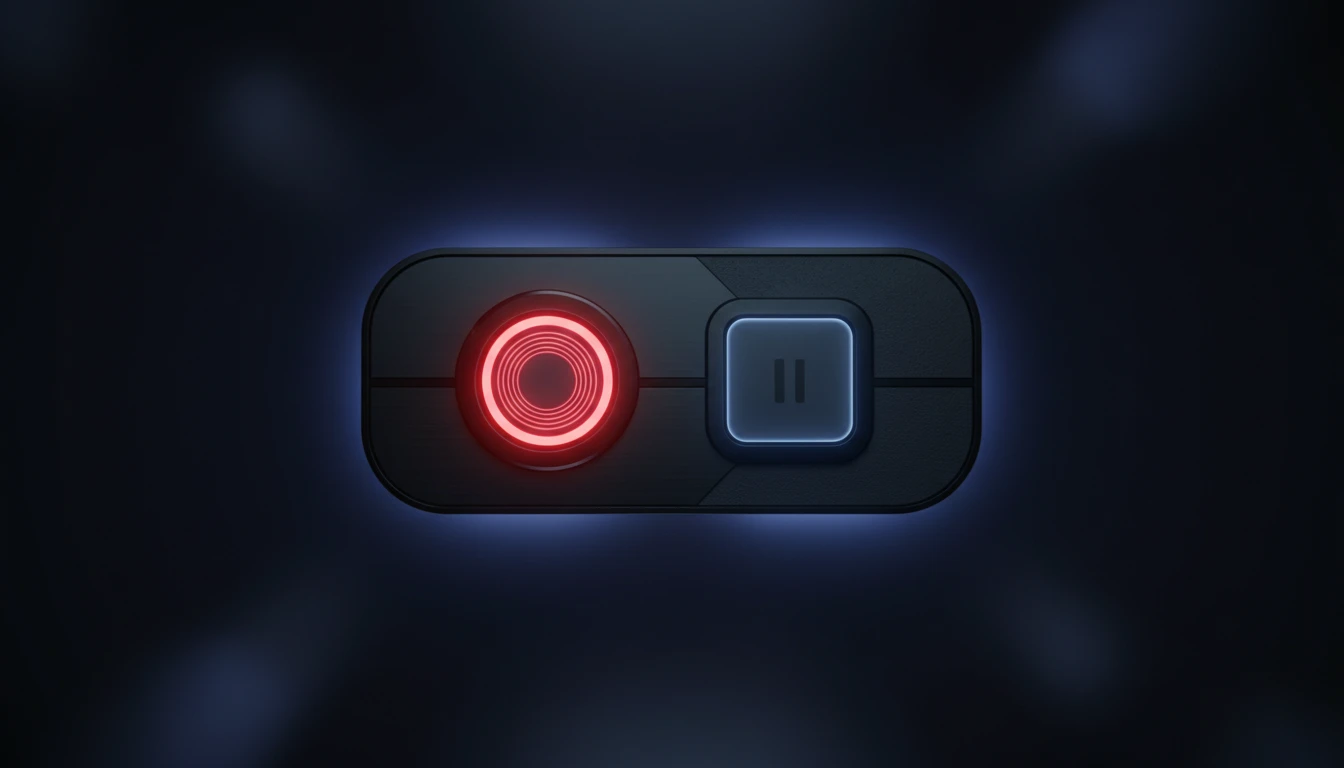
Pause, Resume, and Auto-Save Segments
Pause and resume at any point without losing footage. Enable auto-save to automatically download a new segment every 5 minutes, protecting long recordings against unexpected interruptions.
Try It NowRecord a split-screen video in three steps
Choose a recording mode
Select Split Screen to combine your screen and camera, Screen Only for screen-only with optional PiP overlay, or Camera Only for webcam-only recording.
Grant browser permissions
Click Start Recording and allow screen capture and camera access when your browser prompts. Audio is captured separately to avoid echo.
Stop and download
Click Stop when finished. Preview your recording in the browser, choose MP4 or WebM, and click Download.
Deep Dive
How Split Screen Recorder Works
Everything runs in your browser using the MediaRecorder API and HTML5 Canvas — no server upload, no extension required.
Why Use This Split Screen Recorder
Four Recording Modes
Split screen, screen only, camera only, or screen with a PiP webcam overlay.
16:9 and 9:16 Output
Switch between widescreen and vertical before you start, with automatic canvas resizing.
Pause and Resume
Pause recording at any point and resume without losing any captured footage.
MP4 and WebM Download
Save as WebM for zero re-encoding, or convert to MP4 for broader compatibility.
Who Uses It
Who Uses Split Screen Recorder
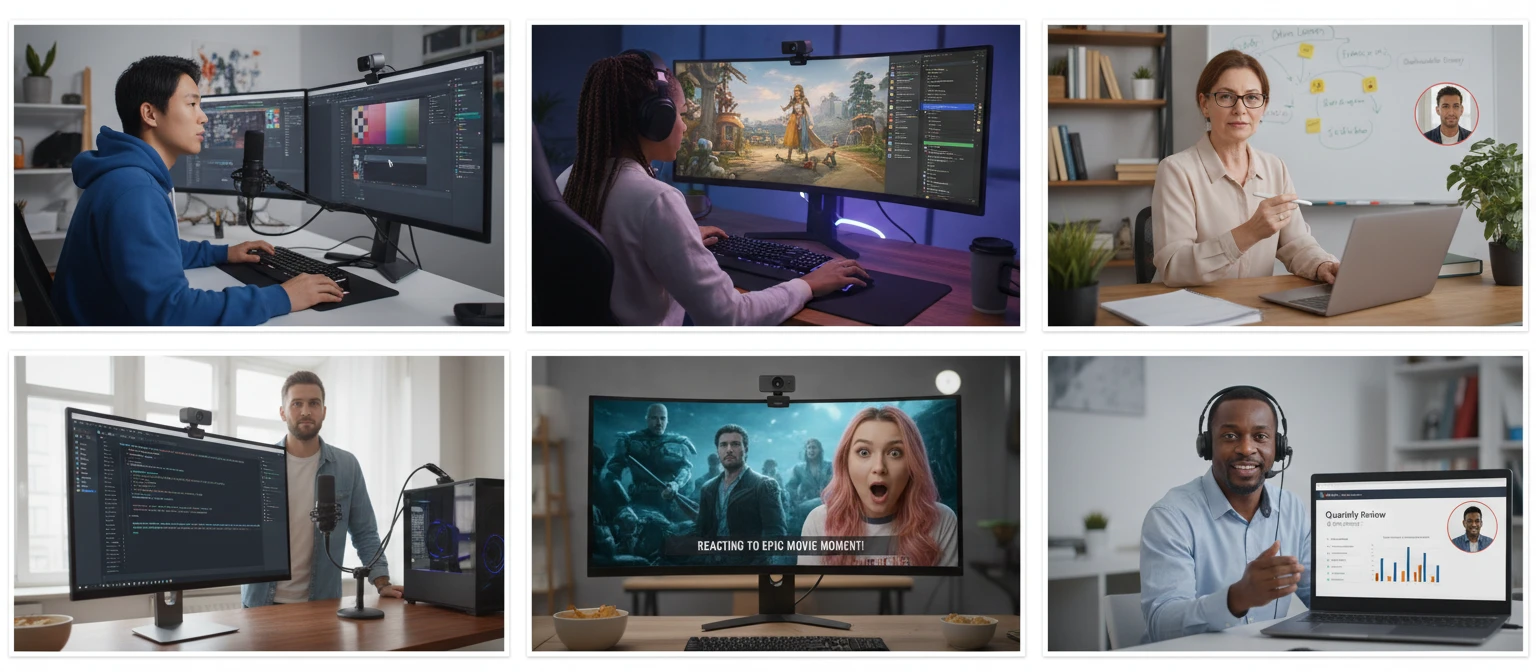
Content creators, educators, developers, and remote workers who need dual-source video.
Frequently Asked Questions
What recording modes are available?
The recorder offers four modes: Split Screen (screen + camera composited into one frame), Screen Only (screen capture without camera), Camera Only (webcam without screen), and Screen + Picture-in-Picture (screen capture with a small webcam overlay in the corner).
What is the difference between top-down and side-by-side split?
Top-down places your screen capture in the upper portion of the frame and your camera in the lower portion, separated by a horizontal dividing line. Side-by-side places them left and right with a vertical divider. Both layouts support an adjustable split ratio from 50/50 up to 90/10.
Can I adjust how much of the screen each source occupies?
Yes. The split ratio slider lets you allocate between 50% and 90% of the frame height (or width in side-by-side mode) to the screen capture, with the remainder going to the camera feed.
Which output aspect ratios are supported?
16:9 widescreen for YouTube videos, webinars, and presentations, and 9:16 vertical for TikTok, Instagram Reels, and YouTube Shorts. The output canvas dimensions are calculated automatically when you start recording.
What video formats can I download?
You can download as WebM (direct export, no re-encoding) for the fastest save, or as MP4 for broader compatibility with video players and editors. MP4 conversion happens entirely in your browser via a second Canvas pass.
What does auto-save do?
When auto-save is enabled, the recorder automatically saves and downloads a new video segment every 5 minutes during recording. This protects long sessions against unexpected interruptions such as browser crashes or accidental tab closures.
Why does the recorder need both screen and microphone permissions?
Screen capture (getDisplayMedia) provides the video track, while microphone access (getUserMedia) is used separately for the audio track. Splitting these requests avoids echo artifacts and works more reliably across different browsers and operating systems.
Ready to Record Your First Split Screen Video?
Choose your mode, hit Start Recording, and have a composited MP4 ready to upload in minutes.